In this exercise you will add code to check the overall quality score received from the previous Adobe Sensei image quality function. When the quality score does not meet an acceptable range, you will call an action to upload it back to Creative Cloud for manual processing.
In Visual Studio Code, open the exercises/exercise-2/composition.js file.
Locate the TODO comment block and add the following snippet:
/* TODO: ... */
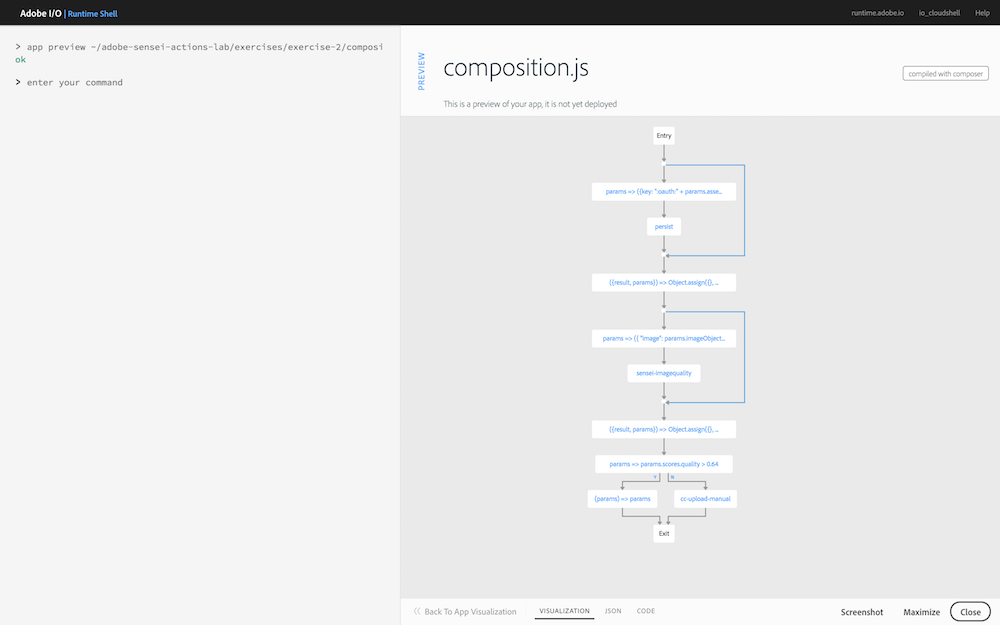
composer.if(
params => params.scores.quality > 0.64,
/* if quality is met, process the image and upload to Adobe Experience Manager */
(params) => params,
/* if quality is NOT met, copy asset to manual process folder in CC */
'/adobe/acp-assets-0.5.0/cc-upload-manual')
HINT: Look back to the results of the previous exercise to remind you of the
qualityscore returned for an image.
First preview your composition again to ensure your new changes are shown before moving on:
app preview ~/adobe-sensei-actions-lab/exercises/exercise-2/composition.js
Next, update the currently deployed version of the asset_created_composition with your edited version:
app update asset_created_composition ~/adobe-sensei-actions-lab/exercises/exercise-2/composition.js
Open the browser to your Creative Cloud instance and trigger the asset_created event by uploading a low quality image into it. One has been included for you within the projects ~/adobe-sensei-actions-lab/stock-photos folder by the name of quality-fail.png.
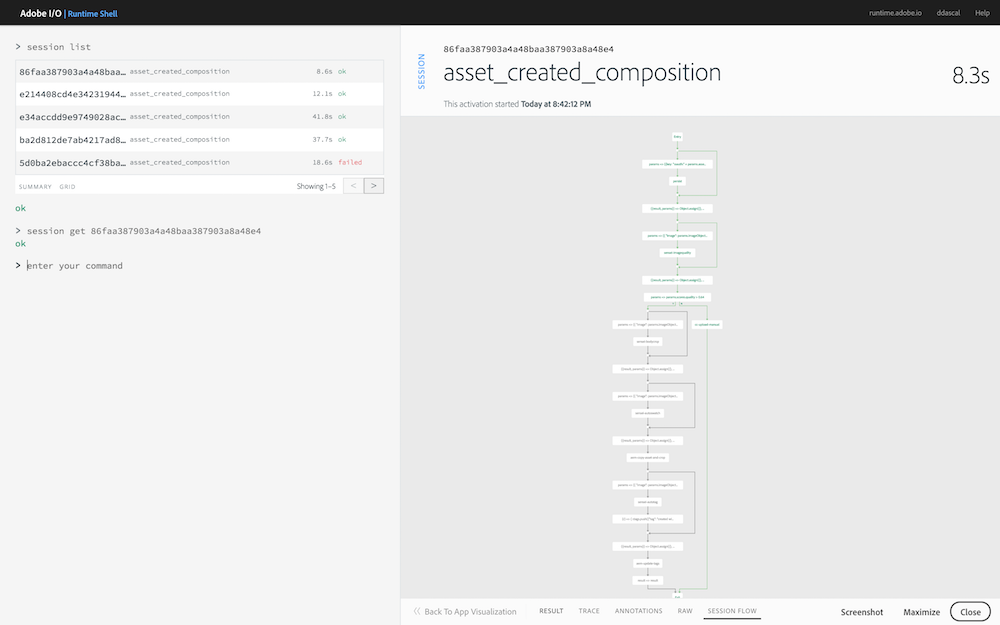
Switch back to the Adobe I/O Runtime Shell to find your session by running the following command:
session list
Locate the most recent asset_created_composition running and click on the session id to view the result. When it was run successfully the RESULTS tab JSON will show the scores indicating the quality value is indeed less than 0.64:
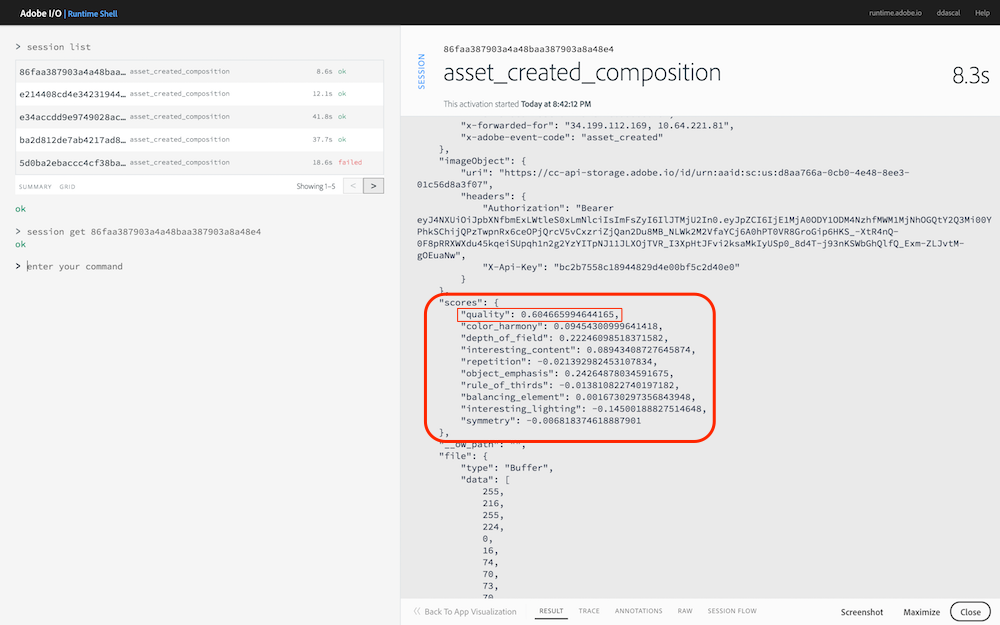
Also note how the SESSION FLOW tab at the bottom shows the path ended with the cc-upload-manual action:
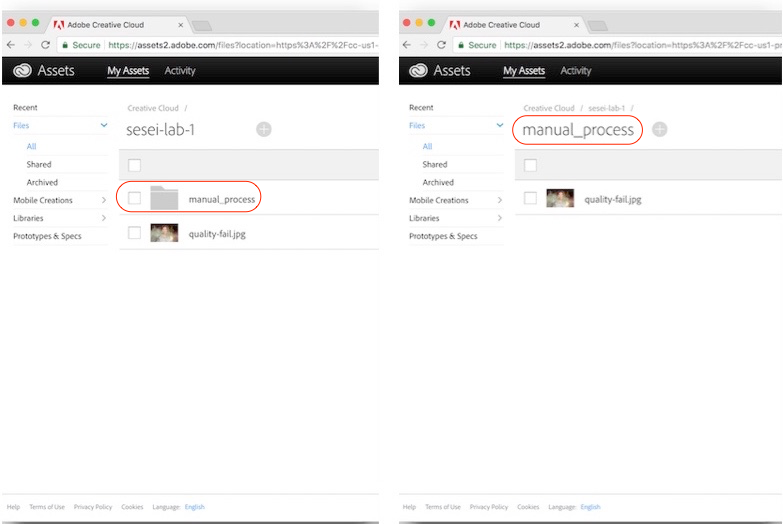
Now go back into your Creative Cloud instance and you should see that a new folder was created called manual and contains the quality-fail.png file.