The Adobe I/O Console provides the definitive destination for any developer looking to engage with and integrate Adobe cloud, mobile, and web technologies.
Open your browser to the Adobe I/O Console and login with your pre-defined CC id and pw.
Ensure the Integrations tab is selected, then locate the integration by the name of Sensei lab X (where X is your assigned lab #) and click on it.
Once it’s open, locate the Default redirect URI for your assigned user number and copy it. For instance, the one assigned to user Sensei Lab 1 is outlined in red below:
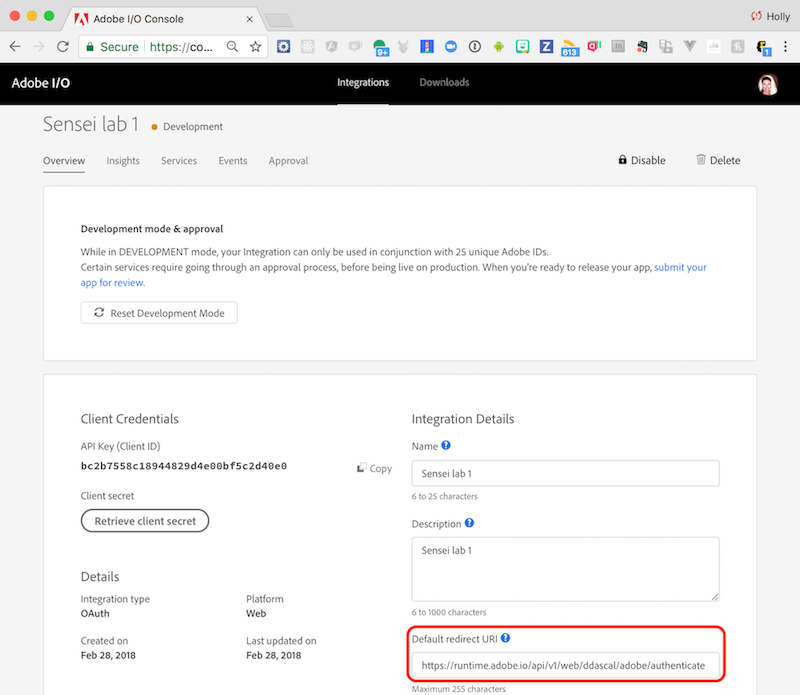
NOTE: This URL will be different for each user so make sure you locate the one for your specific user number.
Open the URL copied from the Default redirect URI in the previous step to authorize your app to access your Creative Cloud files. When it is run the first time, you will receive a pop-up like below, where you should click on the Allow Access button. You will then be re-routed to the Adobe Creative Cloud site where you can login with the Creative Cloud userid/pw provided to you for the lab.
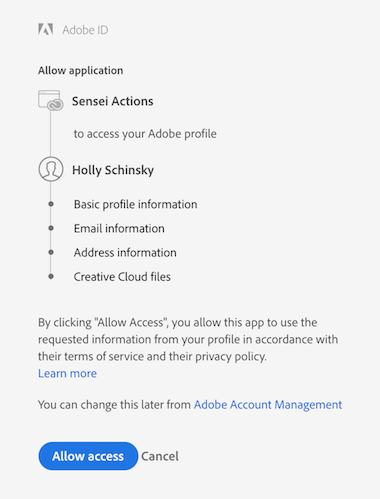
NOTE: Don’t worry if you did not receive the pop-up, it may have been run already in a previous lab.
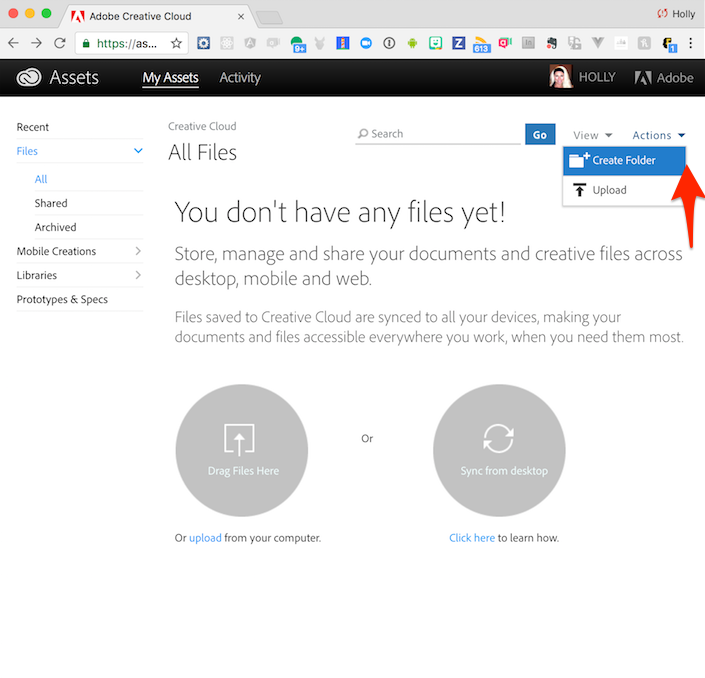
Once logged in, look for the Creative Cloud Files or Files link under Assets and click on it.
IMPORTANT: Before moving on, you must create your own personal folder to be used throughout this workshop. On the top right, click on the Actions arrow and choose Create Folder from the options. Name it sensei-lab-x where x is your assigned lab user number.