Understand how your Adobe I/O integration is configured with a webhook action to respond to Creative Cloud Asset Created events.
Go back to the Adobe I/O Console, ensure the Integrations tab is selected and click on your pre-defined integration again (ie: Sensei lab X - where X is your assigned lab #).
Select the Events tab and notice an item listed with the name Event Handler. Click on the Edit button to the right of it item to expand the details of the configured webhook, like shown below:
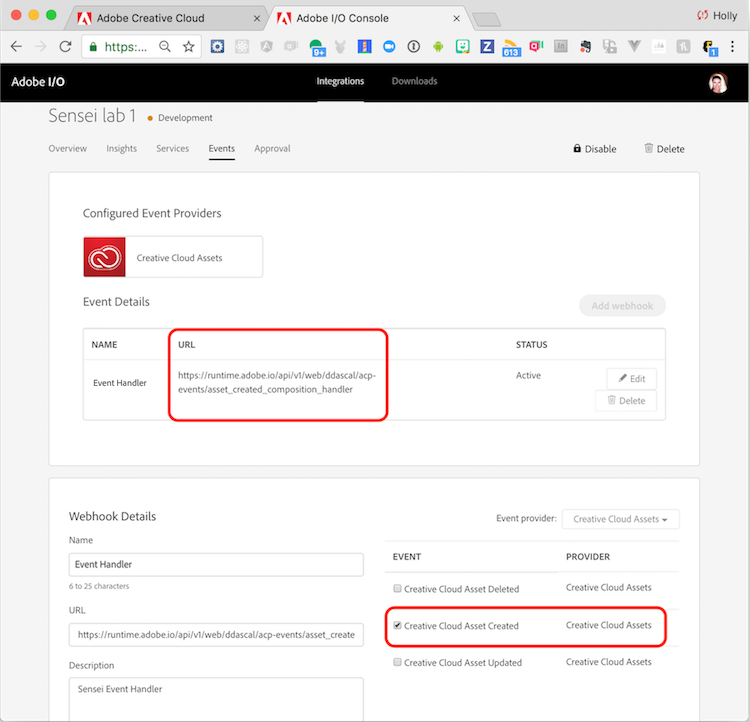
Notice the items outlined in red above. These two fields define a URL endpoint event handler to be invoked any time a Creative Cloud Asset Created event occurs.
The URL defined for the webhook event handler points to a pre-defined action you could now view in the Adobe I/O Runtime Shell. Switch back to the Adobe I/O Runtime Shell and use the action get command followed by your specific namespace/package/handler from the URL directly following the https://runtime.adobe.io/api/v1/web portion of the URL:
For instance, if the URL was https://runtime.adobe.io/api/v1/web/sensei-lab-1/acp-events/asset_created_composition_handler you would run the following command:
action get acp-events/asset_created_composition_handler
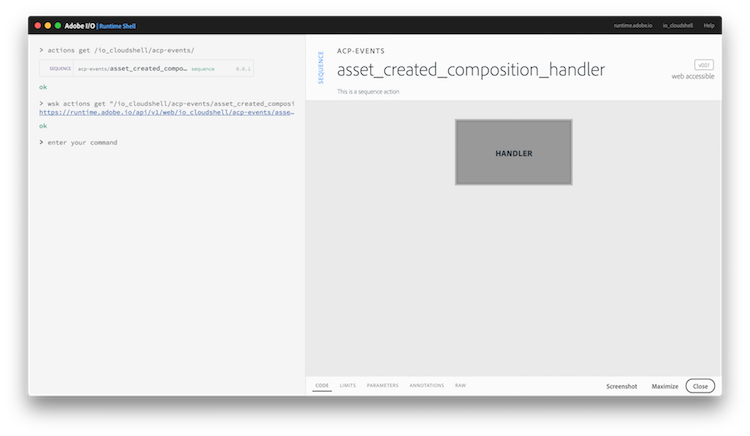
In the result you should see a SEQUENCE action with the name of asset_created_composition_handler in package acp-events.
NOTE: You can also list actions specific to a namespace/package and use a command like:
actions get /sensei-lab-x/acp-events/with your assigned namespace/lab number.
Click on the HANDLER action defined within the asset_created_composition_handler and take a look at the code definition briefly to see more details on how this handler works.
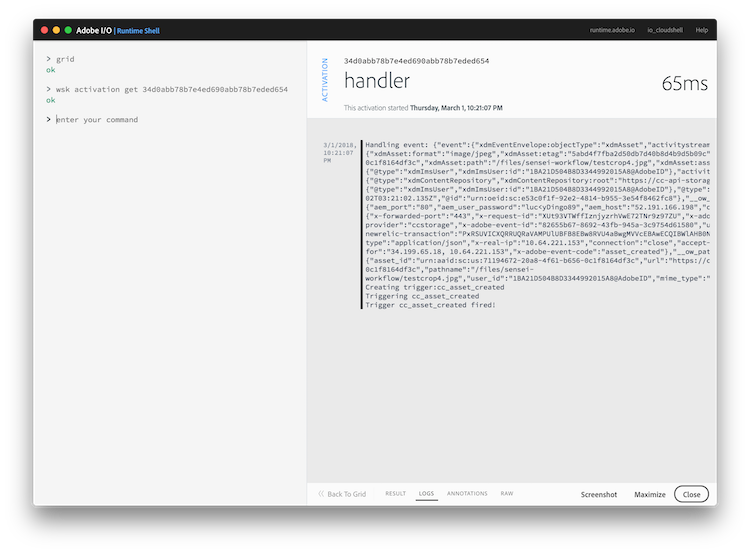
An example of the log output from an invocation of this handler is shown below for reference:
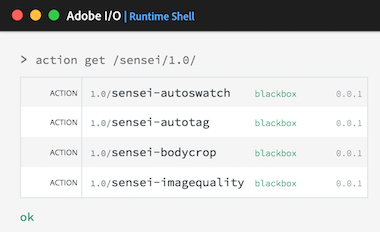
Before leaving the Adobe I/O Runtime Shell, execute the action get /sensei/1.0/ command to view the names of the Adobe Sensei functions currently defined in your namespace. You should see a list like the following. These actions will be used throughout the rest of the exercises to add specific Adobe Sensei functions.