Lesson 1. Set up your Runtime Namespace
Learning Objectives
- Understand how to use Adobe I/O Console
- Use Console to set up a Runtime Namespace
- Set up your Adobe I/O CLI
Lab Tasks
- Create new Integration on I/O Console
- Log into Adobe I/O Console
- Create new Integration for a Runtime Namespace
- Set up your Adobe I/O CLI (aio-cli)
- Configure the CLI to access your org
- Set up Runtime Namespace
Create new Integration on I/O Console
GOAL: In this section, we are going to set up a new Integration on Adobe I/O Console that creates a new Runtime namespace.
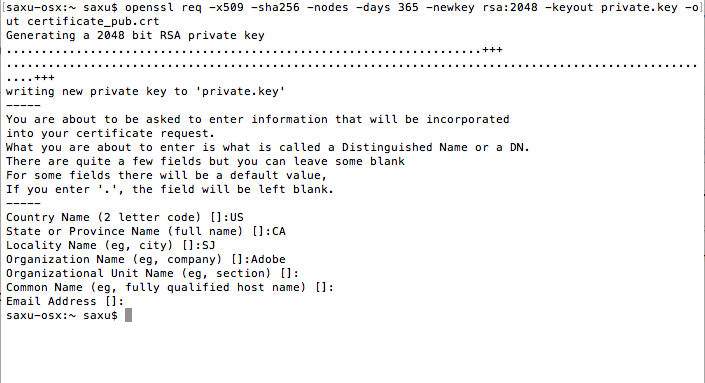
1. Create Public Certificate
- Open your Terminal and run the follow commands
$ cd ~/Desktop $ openssl req -x509 -sha256 -nodes -days 365 -newkey rsa:2048 -keyout private.key -out certificate_pub.crt -
Fill in the information as prompted for your certificate
2. Create Config.json File
- Navigate to Adobe I/O Console at https://console.adobe.io in your browser
- Login with the credential that are provided on the slide.
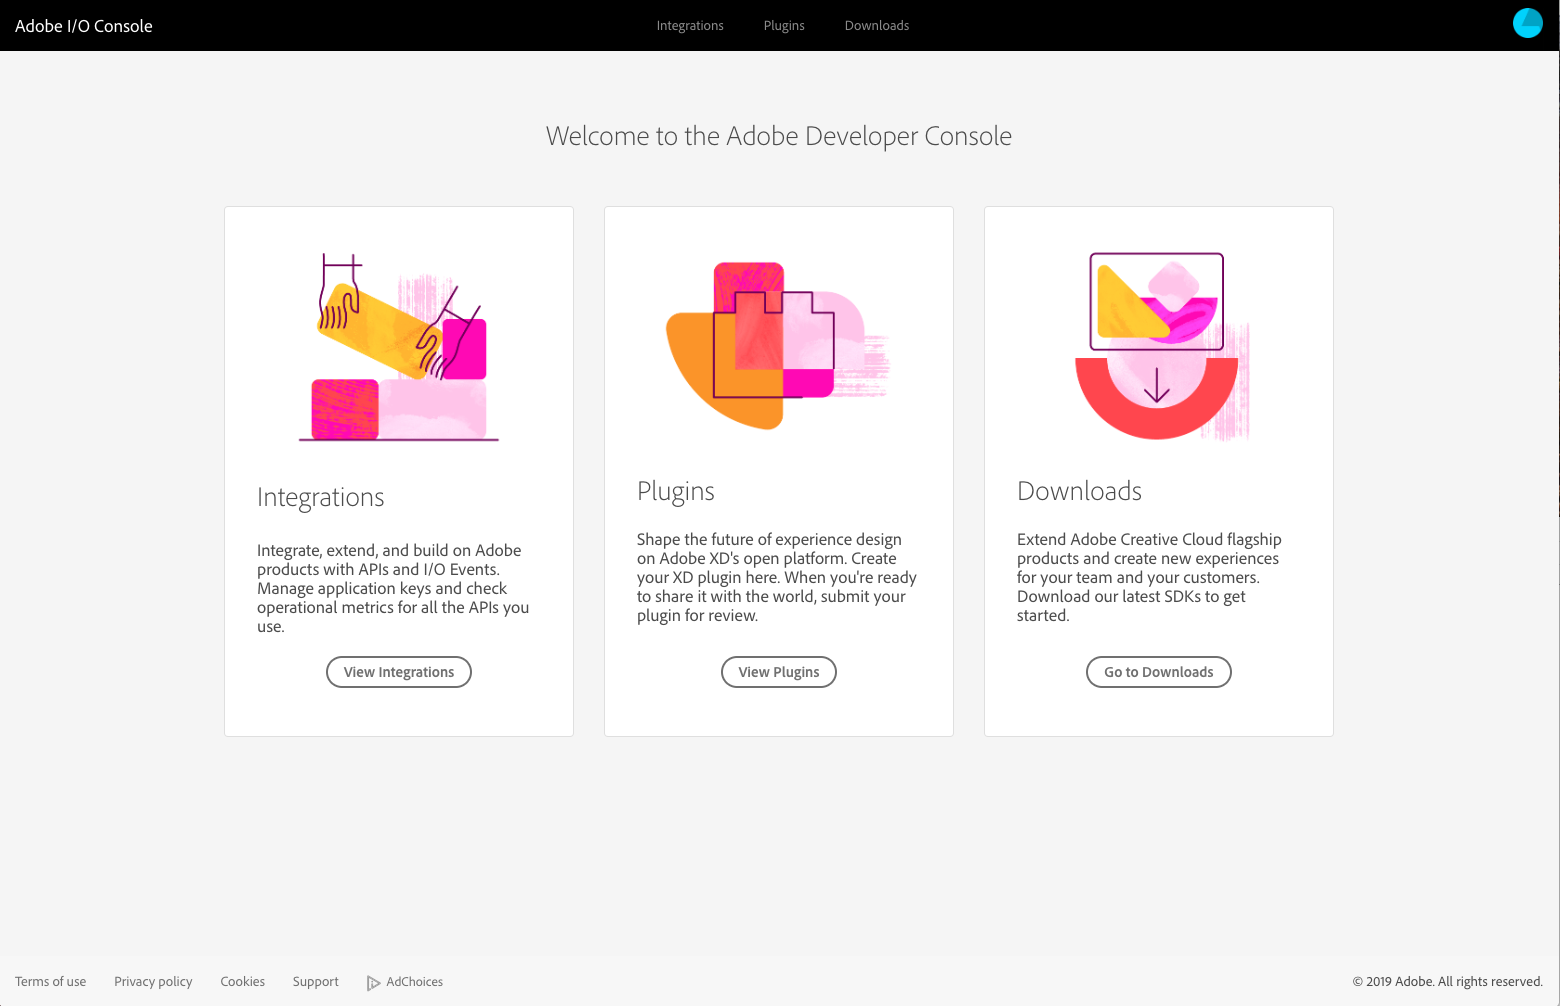
- Login with the credential that are provided on the slide.
- Select
Integrations, and you should see the following screen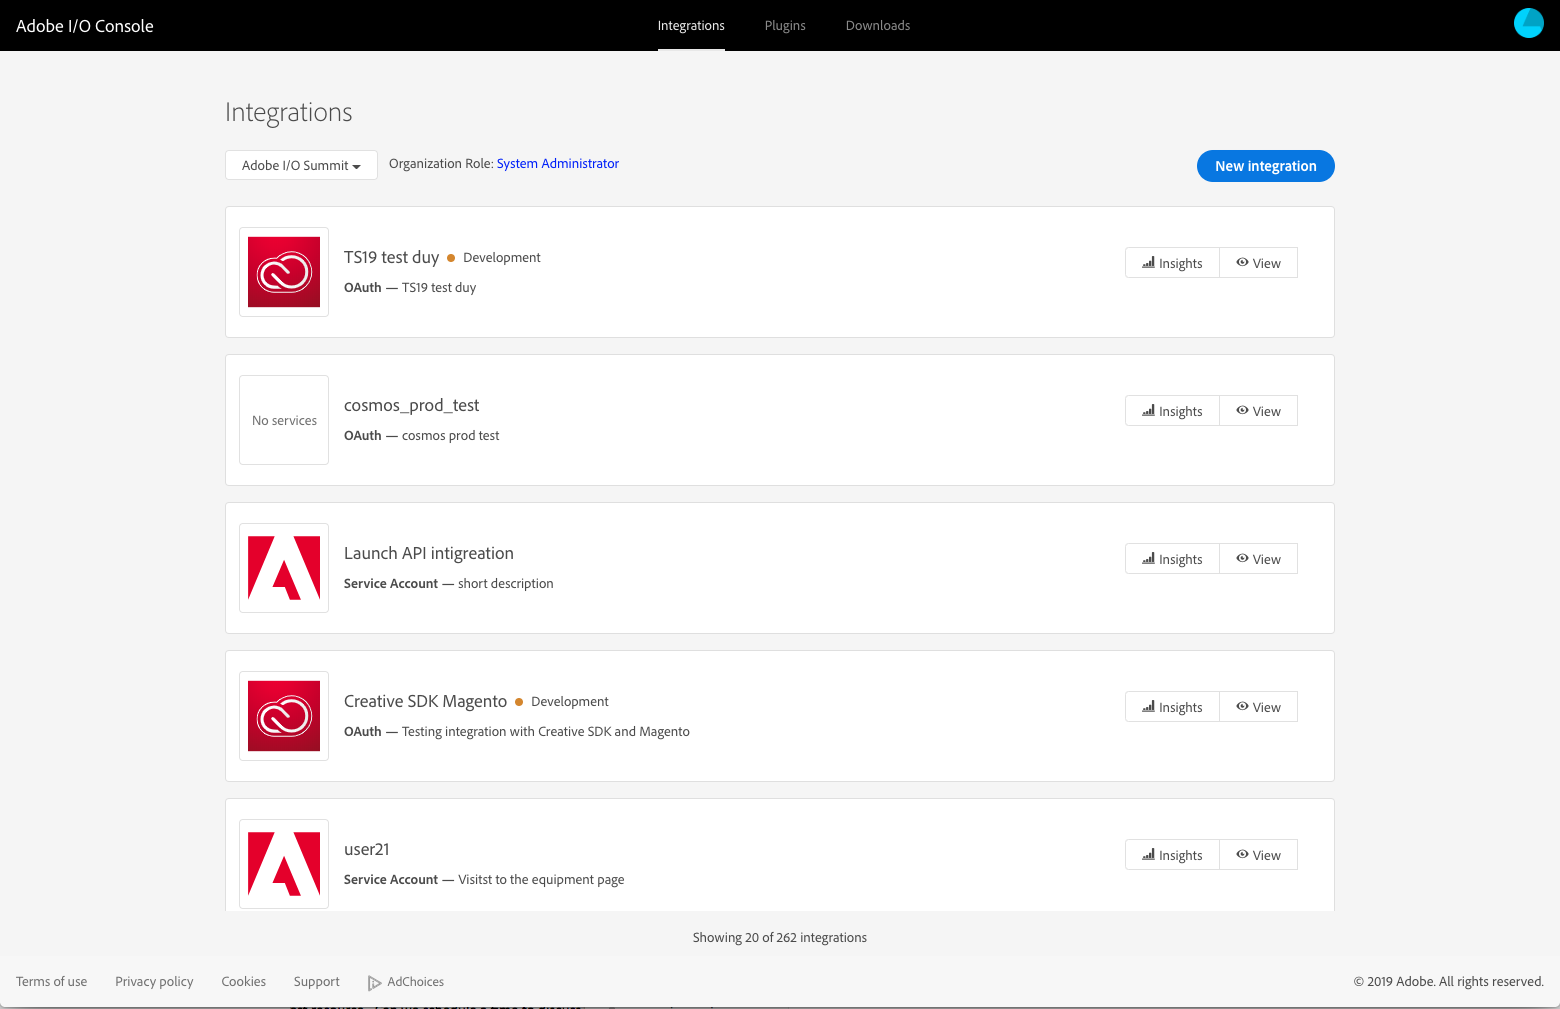
- Select
New Integration, thenDeploy serverless actionsand clickContinue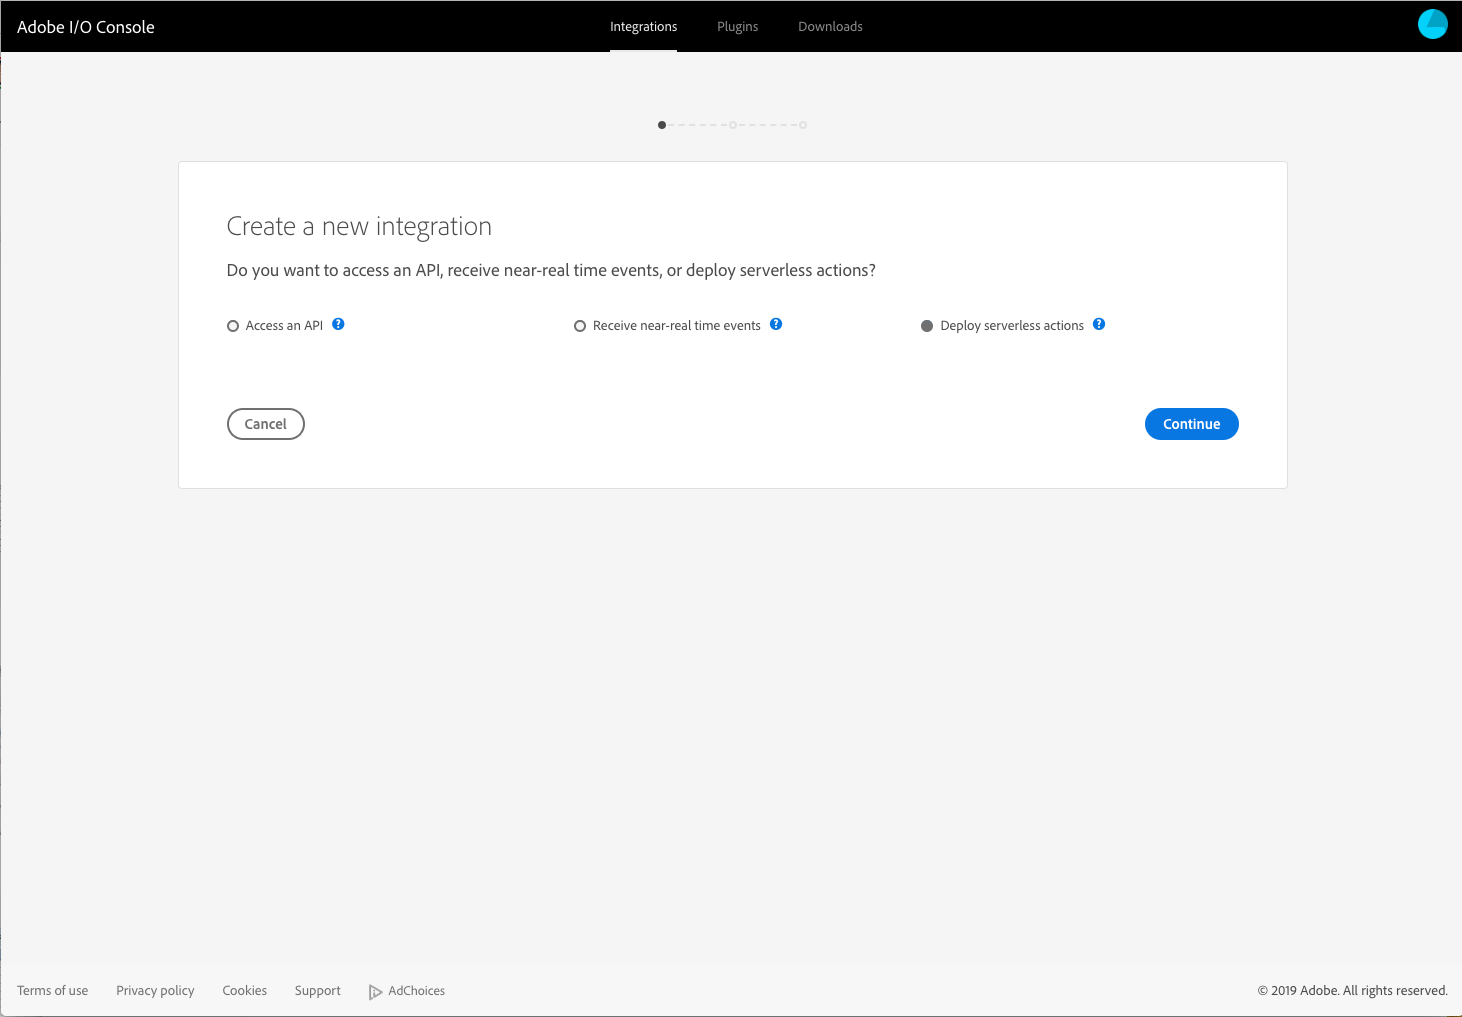
- Select
Service Accountand clickContinue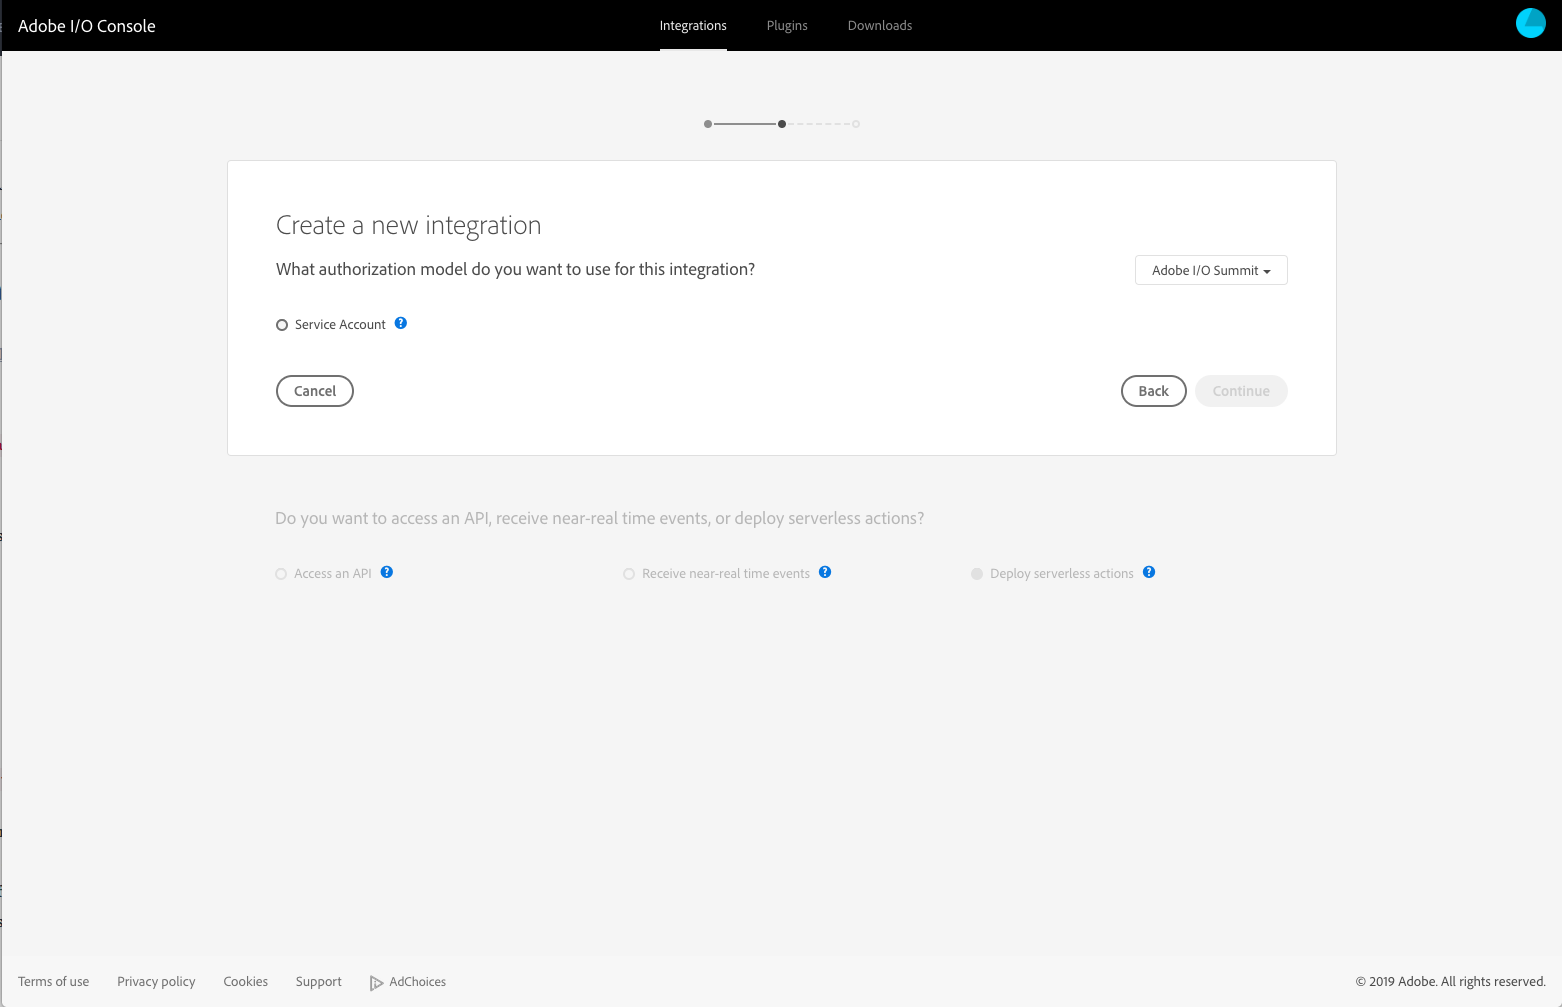
- Fill in your Name and Description on this page, please use
APAC-+YourName(e.g.APAC-SarahXu) as the name for your integration.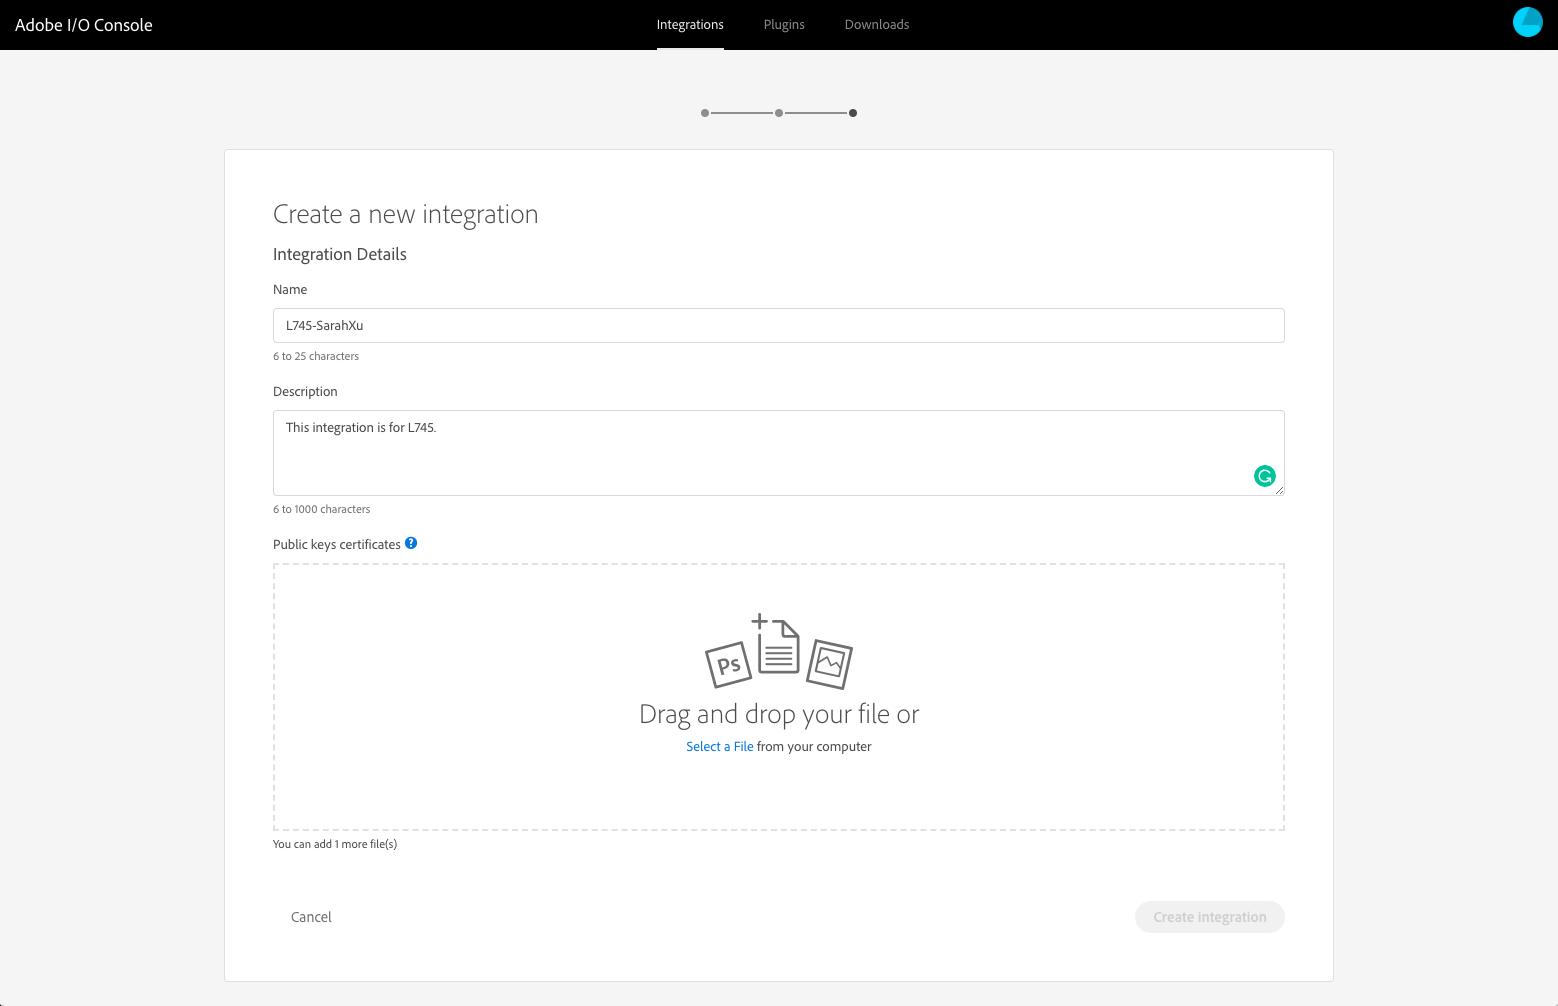
- From the first part, you should now see 2 new files on your Desktop,
certificate_pub.crtandprivate.key. Upload thecertificate_pub.crtfile in your browser to create your Integration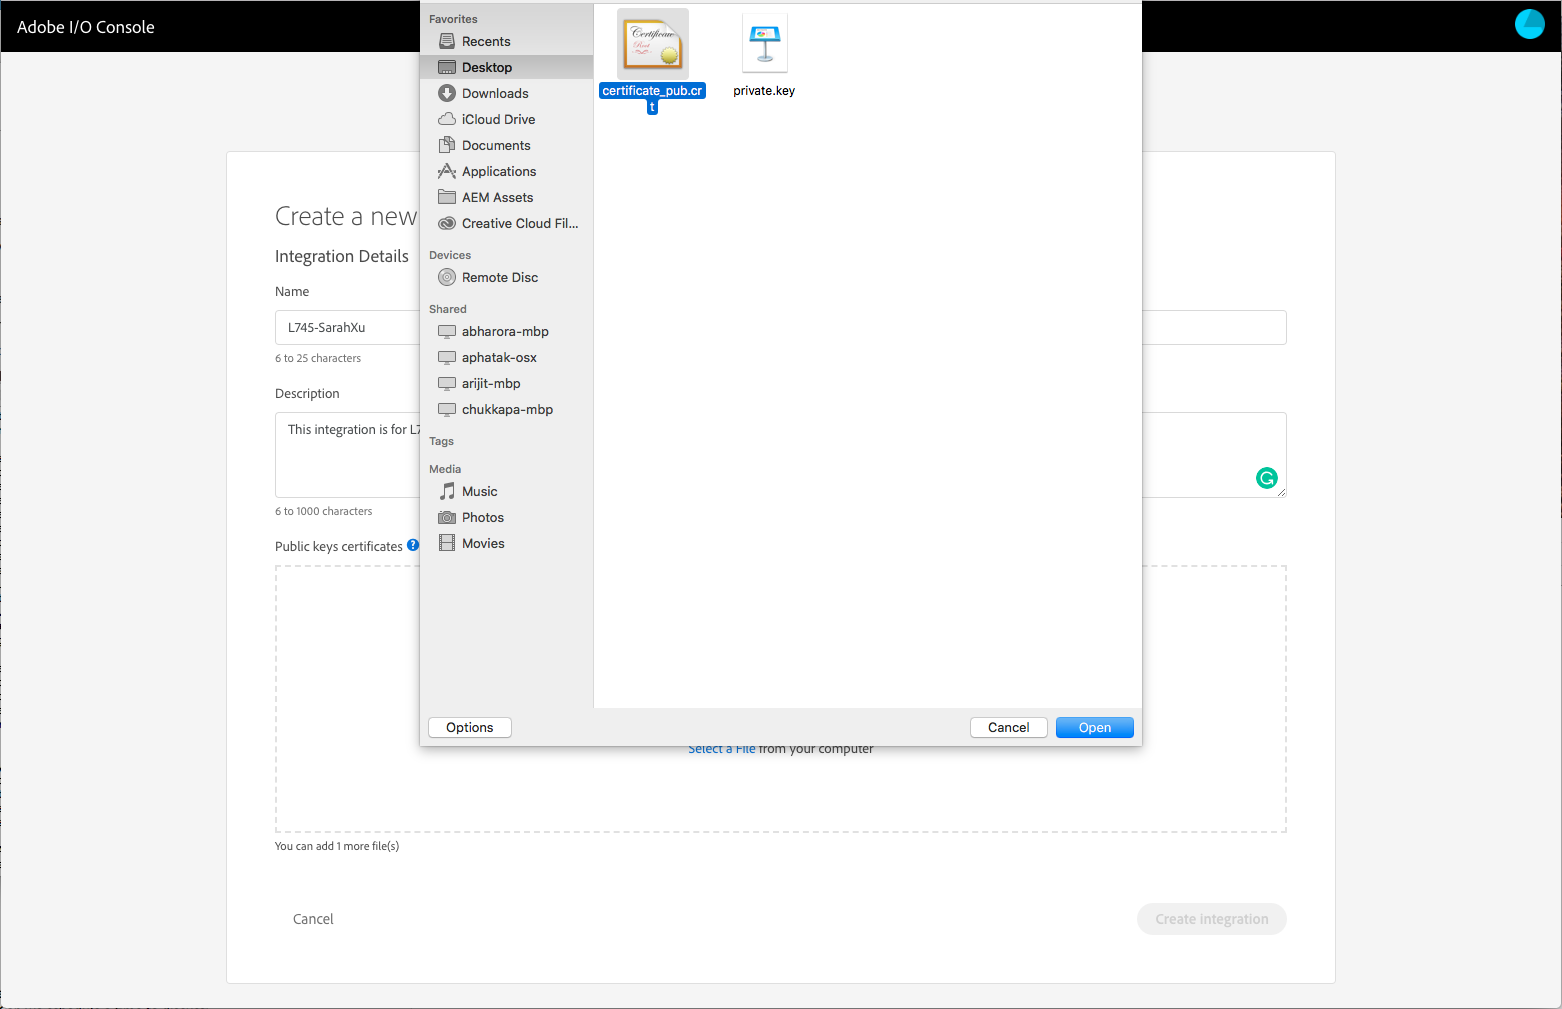
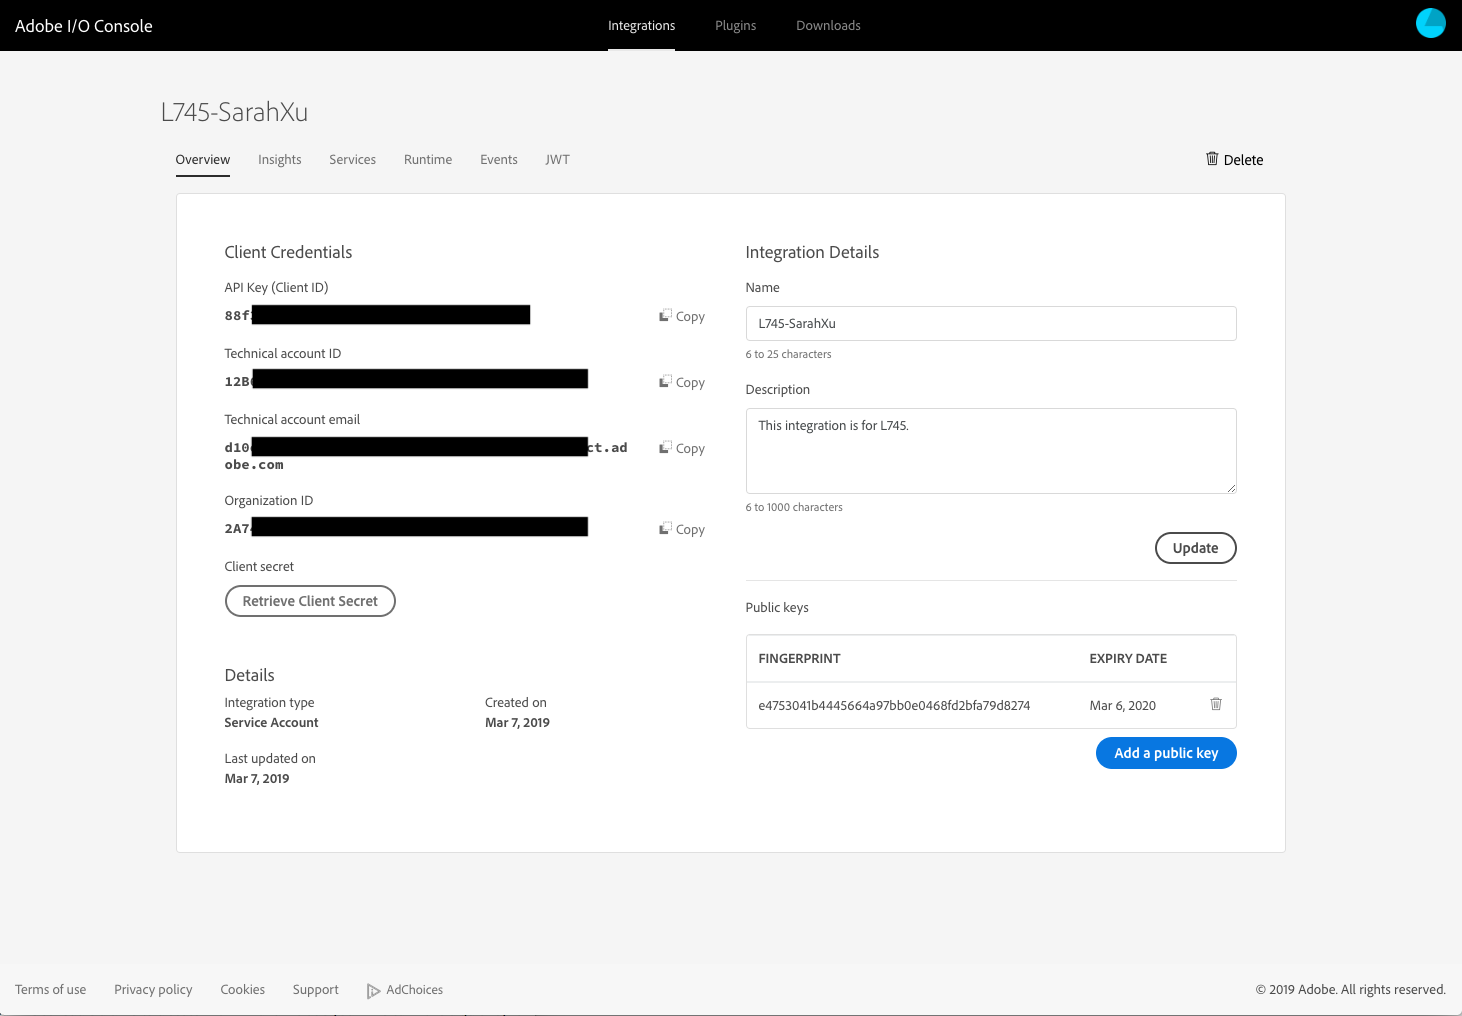
- After creating your integration, you will be able to view the details of your integration. Your screen should look similar to this.
Set up your Adobe I/O CLI
GOAL: In this section, we are going to set up Adobe I/O CLI that allows you to interact with your Runtime namespace.
1. Create Config.json File
- Find a
config.jsonfile in your Resources. We are going to fill in the details based on the Integration you just created.{ "client_id": "value from your Console Integration (String)", "client_secret": "value from your Console integration (String)", "jwt_payload": { value from your Console integration (JSON Object Literal) }, "token_exchange_url": "https://ims-na1.adobelogin.com/ims/exchange/jwt", "console_get_orgs_url":"https://api.adobe.io/console/organizations", "console_get_namespaces_url":"https://api.adobe.io/runtime/admin/namespaces/" } - Open the Integration you just created, from the
Client Credentialslist, copy the value ofAPI Key (Client ID)to replace theclient_idinconfig.json, andClient secretto replace theclient_secret. - Navigate to the JWT tab on your Integration, you should see the
JWT payloadblock, copy it to replace thejwt_payloadline inconfig.json.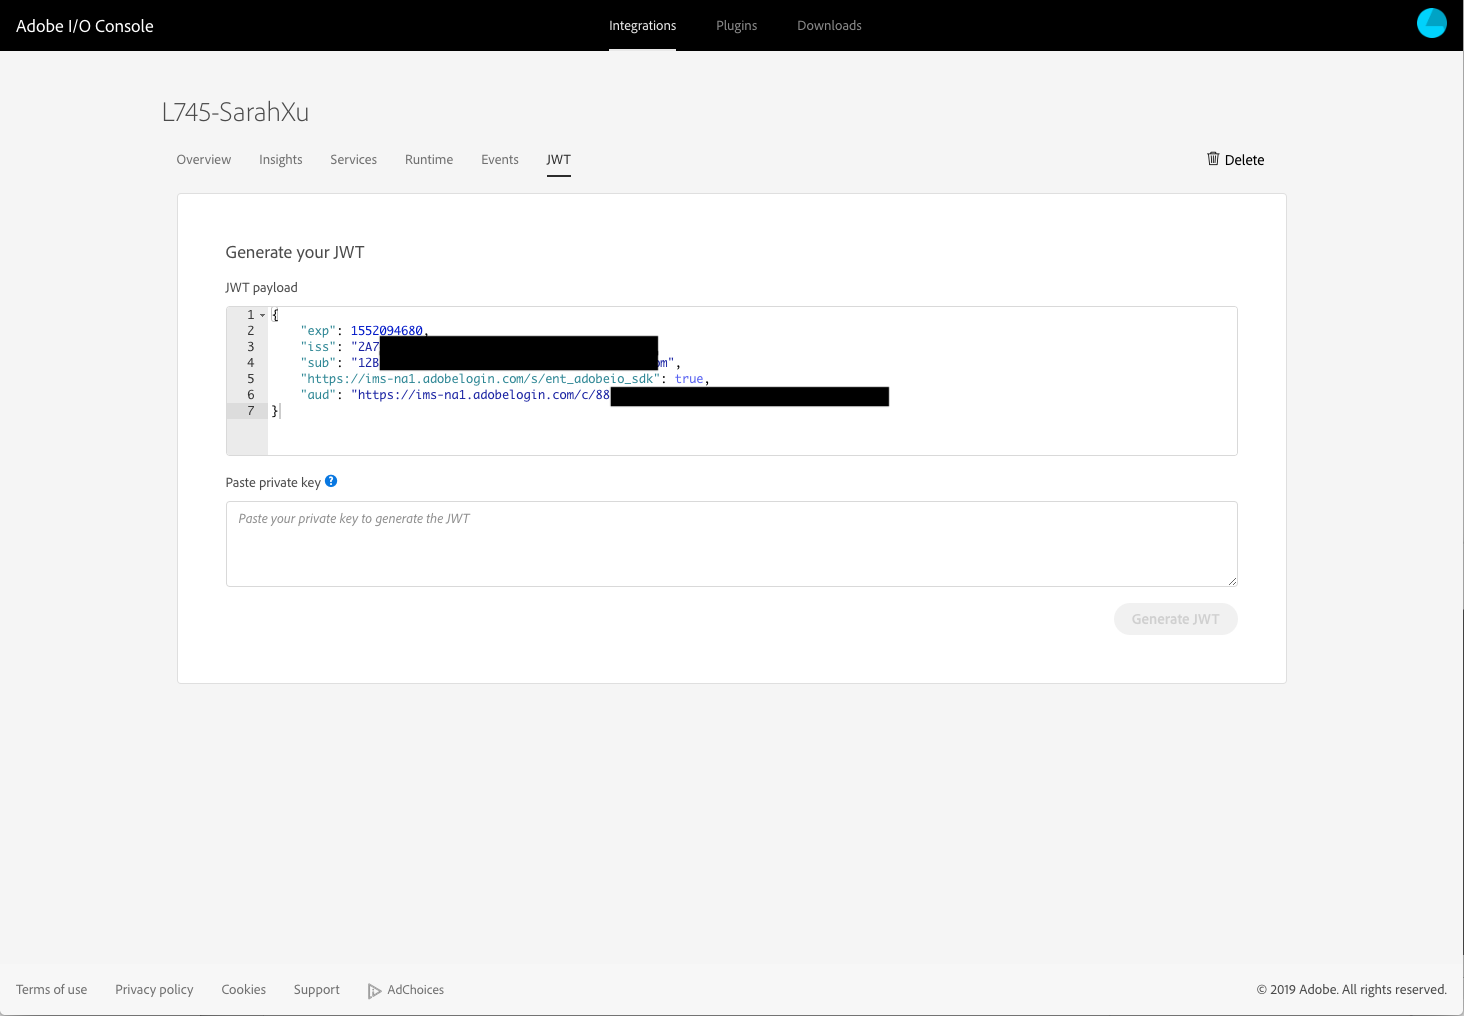
- Save all your changes and your
config.jsonshould look something like this:{ "client_id": "88f3xxxxxxxxxxxxxxxxxxxxx", "client_secret": "68fabxxxxxxxxxxxxxxxxxxxxx", "jwt_payload": { "exp": 1552094680, "iss": "2A74xxxxxxxxxxxxxxxxxxxxx@AdobeOrg", "sub": "12Bxxxxxxxxxxxxxxxxxxxxx@techacct.adobe.com", "https://ims-na1.adobelogin.com/s/ent_adobeio_sdk": true, "aud": "https://ims-na1.adobelogin.com/c/88f37bcfxxxxxxxxxxxxxxxxxxxxx" }, "token_exchange_url": "https://ims-na1.adobelogin.com/ims/exchange/jwt", "console_get_orgs_url":"https://api.adobe.io/console/organizations", "console_get_namespaces_url":"https://api.adobe.io/runtime/admin/namespaces/" }2. Configure Adobe I/O CLI
- To configure your Adobe I/O CLI, open your Terminal and run the following commands:
$ aio config set jwt-auth ~/Desktop/config.json --file --mime-type=application/json $ aio config set jwt-auth.jwt_private_key ~/Desktop/private.key --file --mime-type=application/x-pem-file - Your Adobe I/O CLI is now configured for your Organization. You can always check your configuration via
$ aio config - You can run the following command to validate your config value. This command uses the values you have set to request an Access Token.
$ aio jwt-auth access-tokenshould return an
Access Tokenthat looks like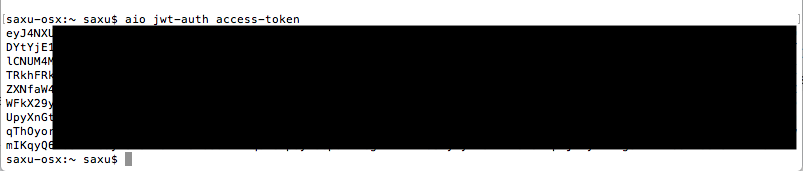 If you run into bugs, open your
 config.jsfile to double check your credentilas, and run bothaio config setcommands again.3. Select your Integration
- Now that your Adobe I/O CLI is configured, you can use it to select your Integration. Run the following command:
$ aio console list-integrationsthis command returns a full of integrations in your Organization
Success: Page 1 of 1, Showing 2 results of 2 results. <OrgID_IntegrationID> : <Integration Name 1> <OrgID_IntegrationID> : <Integration Name 2> - Find your Integration from this list. You can use the following command to look to the next page if you need to:
$ aio console list-integrations --page=2 - Once you identified your integration, use the string of number in front of your integraion e.g. <43611_12345> to select it
$ aio console select-integration xxxxx_xxxxxThis step tells your CLI that now you want to interact with the Runtime namespace tied with this Integration.
3. Validate Runtime Plugin for your Adobe I/O CLI
- You should have the Runtime Plugin installed at this point.
- You can validate this by typing in the following command:
$ aio runtime property getwhich should return your Runtime credentials
 whisk auth      0ae3xxxxxxxxxxxxxxxxxxxxxxxxxxxxxxxxxxxxxxxxxxxxxxxxxxxxxx
 whisk API host      https://adobeioruntime.net
 whisk namespace     43611_xxxxx
Navigate
| Next: |
|---|
| Lesson 2 - Create your first Runtime Action |
Return Home: Workbook Index